Invite members
Invite and manage members of your workspace.
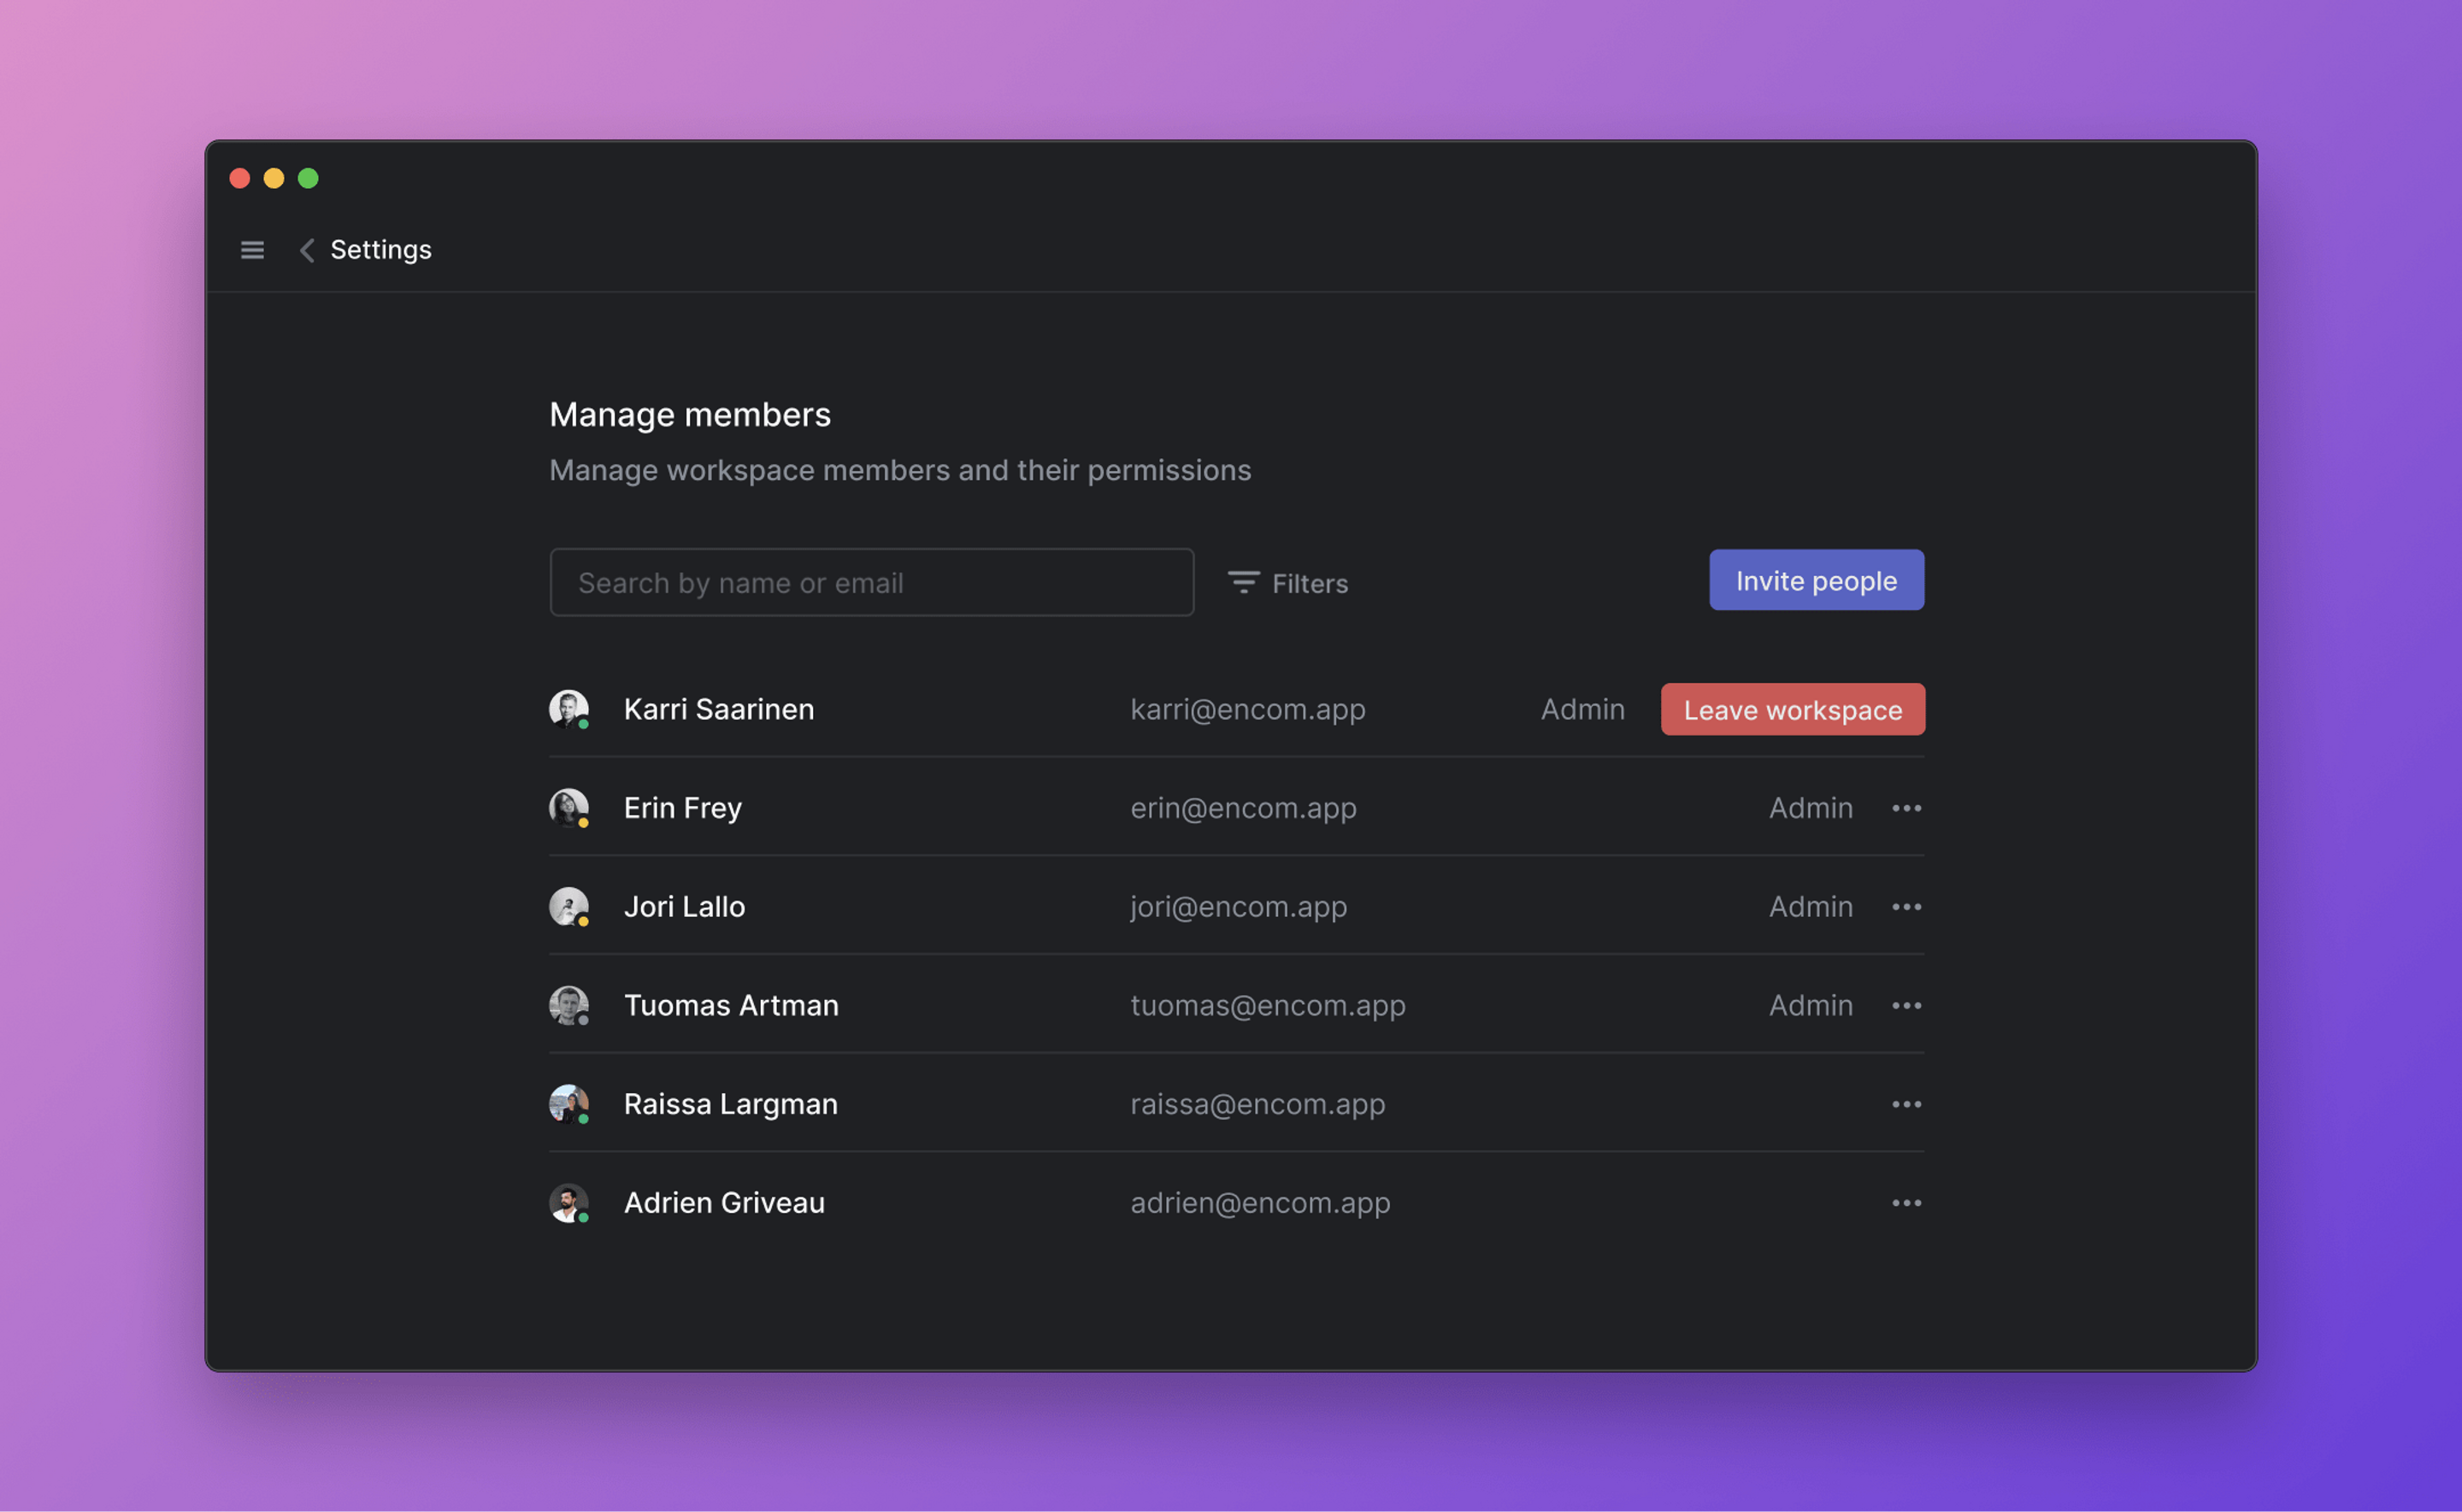
Send an invitation
To send an invitation:
- Go to the Settings > Administration > Members
- Click the Invite button
- Enter the invitee(s) email address. To add multiple invitees, separate each email by commas
- Under Invite as..., select the role you want the invitee(s) to have when joining the workspace (paid plans)
- You can select the team(s) you want your invitee(s) to automatically join
- Click Send invites. New members will receive an invite link via email along with steps to join the workspace
Email Options by Plan
All members of a workspace on the Free plan are considered an Admin, thus anyone can send invitations to new members.
Approved email domains
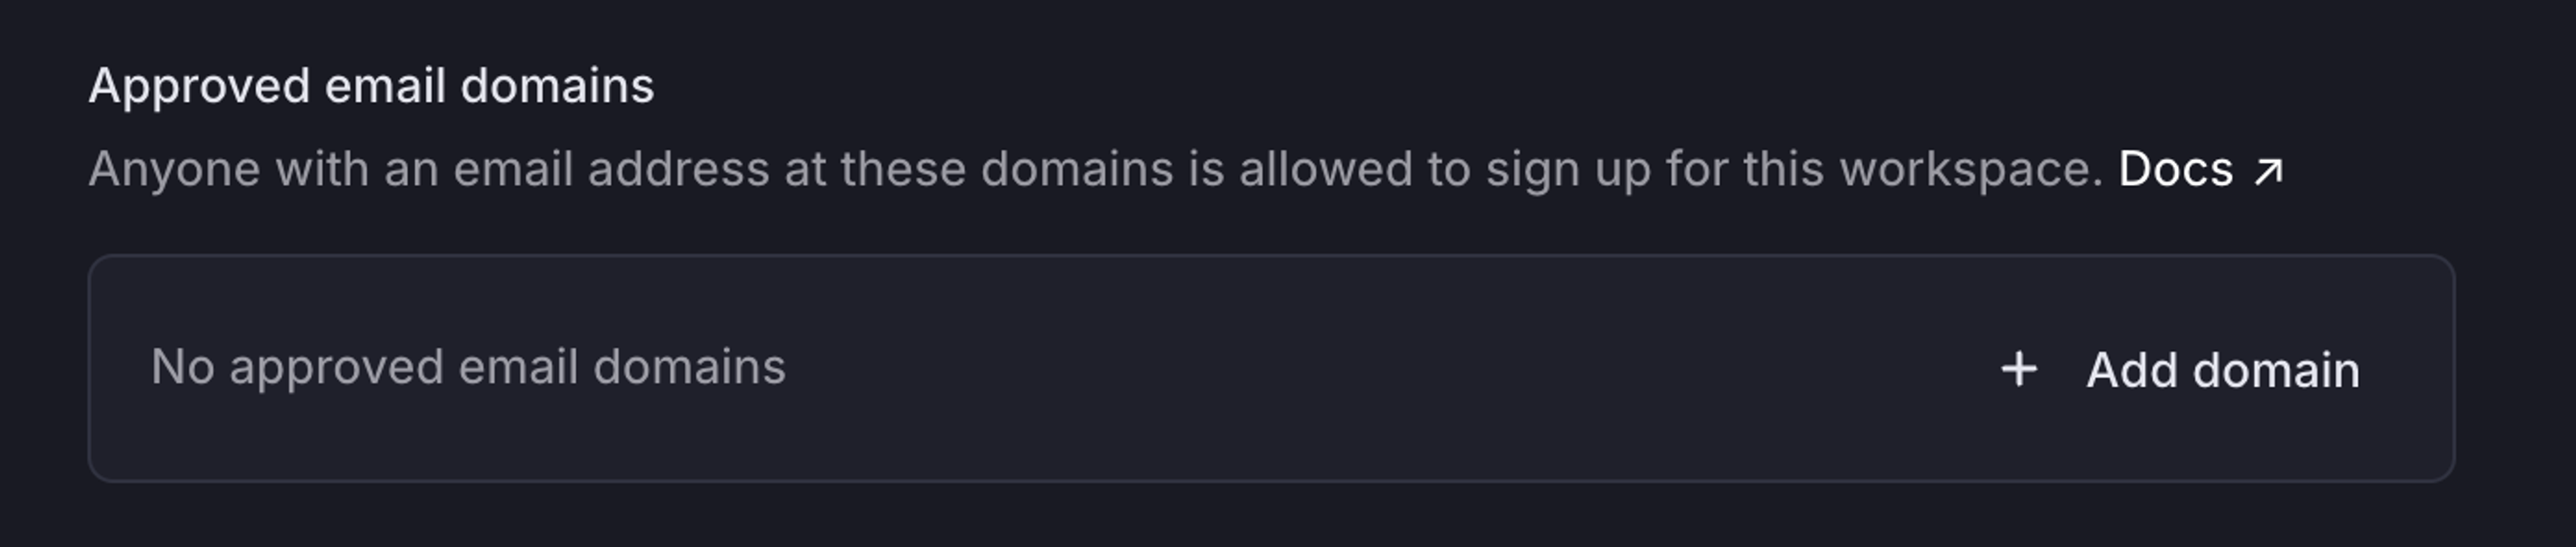
To save time from manually inviting new members, Admins can navigate to Settings > Administration > Security and add allowed email domains. Once set up, anyone with the matching email domain can join the workspace without an invitation or approval. This is only designed to streamline the joining process and does not prevent users from creating new workspaces with that domain email.
Users who are creating new accounts will see a prompt to join the workspace during the onboarding flow.
For members with existing accounts, click on your current workspace icon, hover over Switch workspace, select Create or join a workspace. The workspace with the allowed email domain should show up under available workspaces.
If you ever cancel your domain or transfer control of a domain to another organization, you'll need to remove this domain from your approved email domains in Linear to prevent unwanted access to the workspace.
Invite links
Navigate to Settings > Administration > Security to generate a unique link that allows for anyone with the URL to join your workspace. If enabled, please ensure this link is only shared internally with your organization.
Invite links are persistent and reusable. They can be set to a new unique value with the "Reset invite link" button.
Invite links are unavailable in SAML- and SCIM-enabled workspaces.
Invite & Assign
Invited users can be assigned issues or marked as project leads before they accept their invitation.
- On any issue or project, open the assignee selection menu and choose "Invite and assign…". After inviting them, search for them in assignee/lead menus to continue to allocate work.
- You can also assign issues or set invited users as project leads directly from their user page in workspace settings before they accept.